Quick Start Instructions to Get Rolling with OpenStack: Difference between revisions
| Line 47: | Line 47: | ||
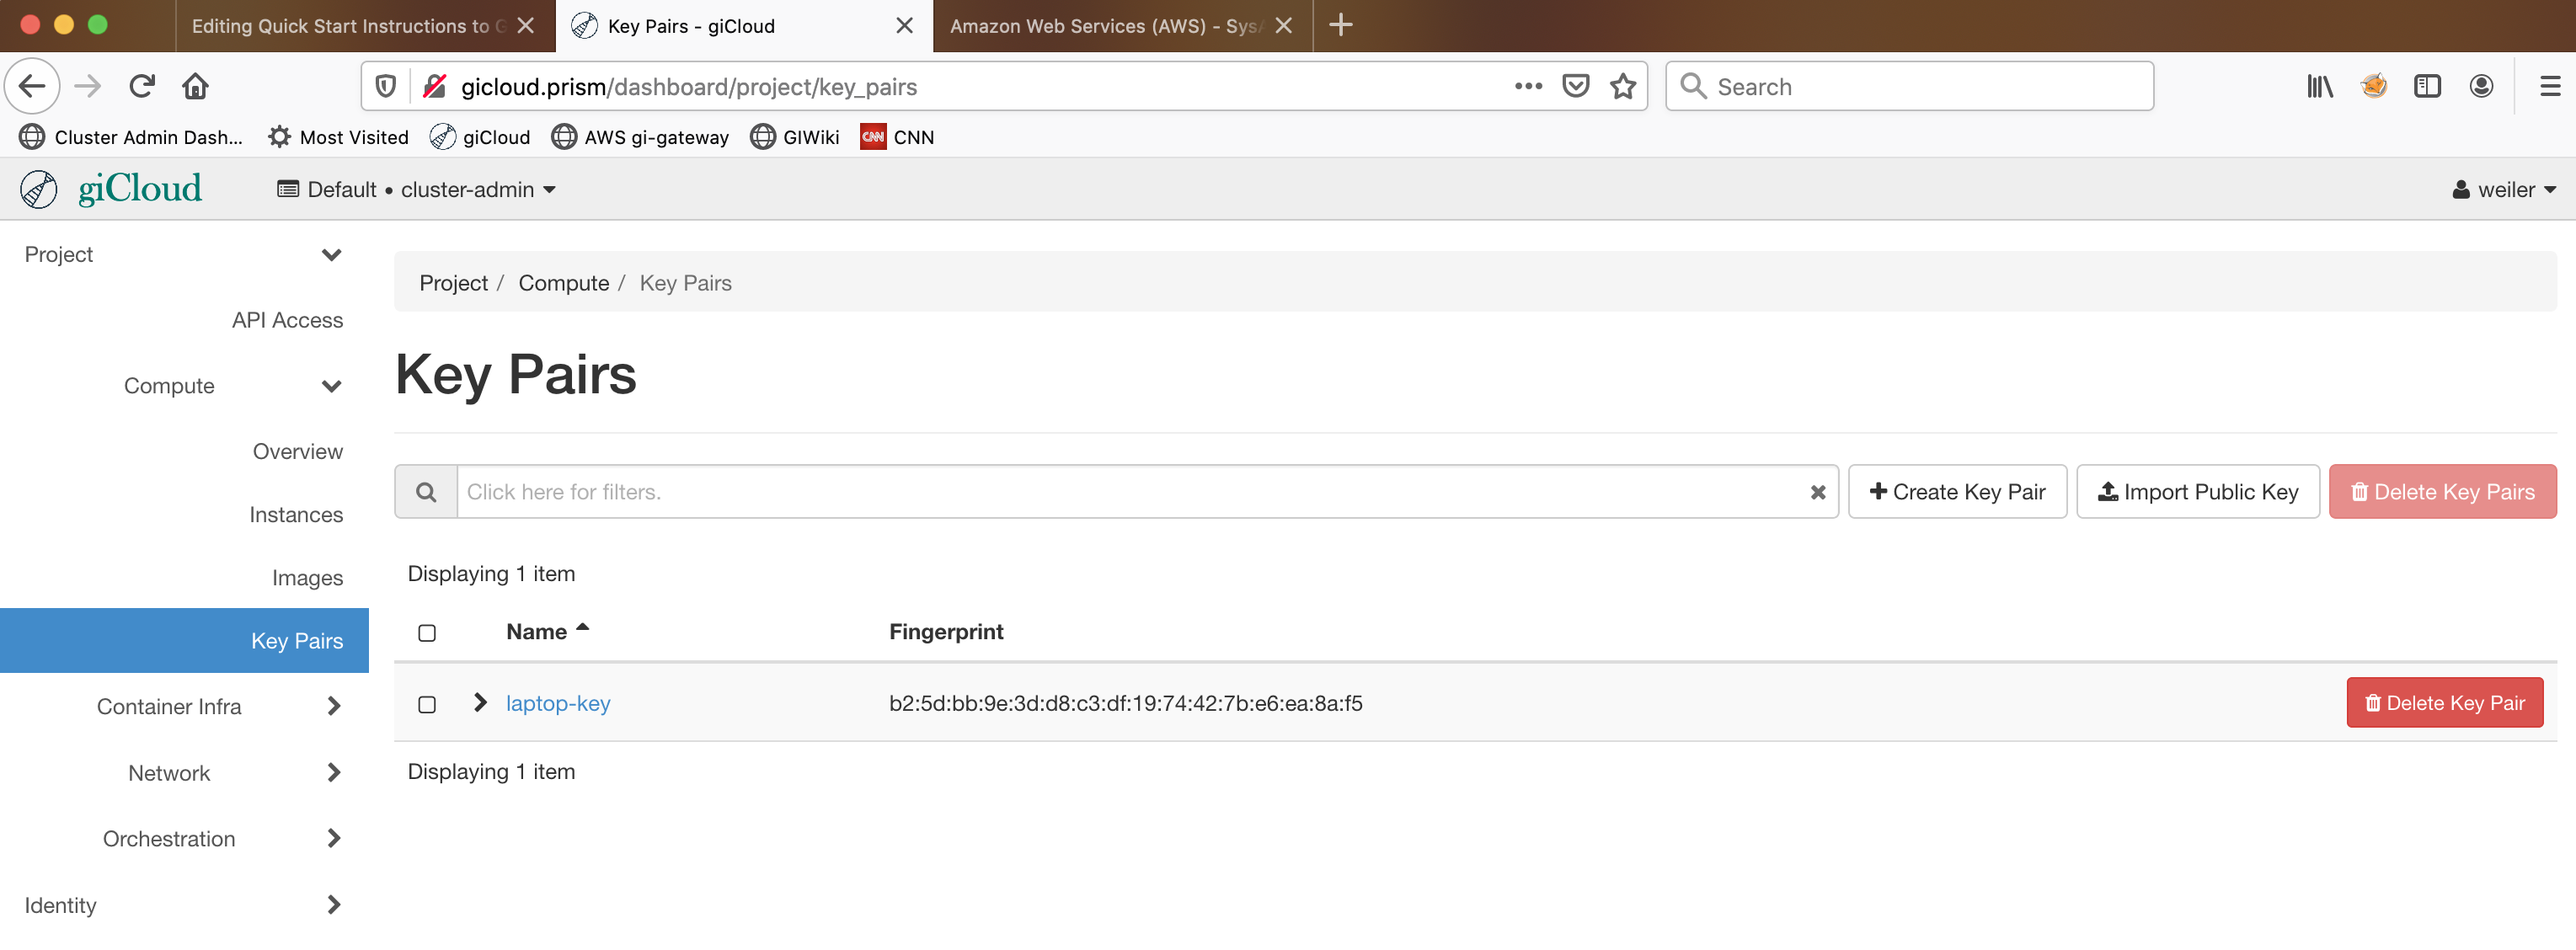
After creating your new key in the above "Create a SSH Public/Private Keypair" step, you will need to upload that key into OpenStack. Once you are logged in, on the left hand navigation menu, click "Project", then in the submenu, select "Compute", and finally select "Key Pairs". It should take you to the "Key Pairs" window as shown here. | After creating your new key in the above "Create a SSH Public/Private Keypair" step, you will need to upload that key into OpenStack. Once you are logged in, on the left hand navigation menu, click "Project", then in the submenu, select "Compute", and finally select "Key Pairs". It should take you to the "Key Pairs" window as shown here. | ||
[[File:Keypairs.png|upright= | [[File:Keypairs.png|upright=400px]] | ||
Revision as of 20:36, 28 April 2020
Request an OpenStack Account
Once you have PRISM/GI VPN access, you can request an OpenStack account. You will need to send an email to cluster-admin@soe.ucsc.edu asking for access, and let us know which lab you are in, or who your PI is, so we can place you in the right OpenStack group.
Create a SSH Public/Private Keypair
To log into an OpenStack VM instance, you will need a SSH public key. The key is "injected" into the instance upon creation, and only someone with that key (i.e. you) will be able to log in via SSH initially. If you already have a SSH public and private key that you use elsewhere, you can use that one, and can skip to the next step. If you don't have a SSH keypair set up yet, then you will need to log into the UNIX compatible machine you will be logging in from (a Mac/Apple computer will also work), and then run the 'ssh-keygen' command. If you are behind the VPN, you can first log into mustard, crimson or razzmatazz, which are linux servers. The command will look something like this:
$ ssh-keygen -t rsa

Generating public/private rsa key pair.
Enter file in which to save the key (/public/home/frank/.ssh/id_rsa):
Created directory '/public/home/frank/.ssh'.
Enter passphrase (empty for no passphrase): [JUST HIT ENTER]
Enter same passphrase again: [JUST HIT ENTER]
Your identification has been saved in /public/home/frank/.ssh/id_rsa.
Your public key has been saved in /public/home/frank/.ssh/id_rsa.pub.
The key fingerprint is:
SHA256:dhJG1A3gcwj7Mz17ommt3NIczMVVgrzp8Tf6F1X4jpI
The key's randomart image is:
+---[RSA 2048]----+
|      ..+o.+ ..o.|
|       = .. + o..|
|      . * .. + ..|
|       o =  *   o|
|        So+o + o.|
|       . =+oE ooo|
|         +o.....o|
|       .o++o .  .|
|       .=o.   ...|
+----[SHA256]-----+
You will then have a new directory, "~/.ssh", and inside that directory you will have a file called "id_rsa.pub". That is your SSH public key. You will need this in the next step in order to set up your key in OpenStack.
Log In To giCloud
Once you have been notified that your account has been set up and have been given login credentials, connect to the VPN and then go to this link, which is the login page:
https://gicloud.prism
To login, enter your username and password. Also you will see a "Domain" field, just enter the word "default" for the domain. Click "Log In". You will be logged into your group's summary page.
Upload your SSH Public Key
After creating your new key in the above "Create a SSH Public/Private Keypair" step, you will need to upload that key into OpenStack. Once you are logged in, on the left hand navigation menu, click "Project", then in the submenu, select "Compute", and finally select "Key Pairs". It should take you to the "Key Pairs" window as shown here.
